Replacing garage door springs is a necessary but delicate task, especially when dealing with the tension they hold. Picture this: one day, your garage door refuses to budge, leaving you stuck outside or trapped inside. A broken spring is often the culprit. Fortunately, you can handle this job safely with the right tools and careful preparation.
This guide breaks down the steps on how to replace garage door springs, from gathering the essential tools to safely winding the new springs into place. You’ll also learn about the two types of springs—torsion and extension—and how to identify which one your door uses. Each step is outlined to ensure your safety and the smooth operation of your garage door.
Don’t hesitate to call a professional if you’re unsure about handling high-tension springs or if the process seems too risky. Keep reading for detailed instructions and safety tips to help you decide whether this is a DIY project or one best left to the experts.
Why You Should Check Garage Door Springs
Garage door springs are constantly under pressure. They stretch and contract every time you open or close the door, wearing them down and making them prone to breaking. Regularly checking your garage door springs can help prevent accidents, as broken springs can cause the door to fall unexpectedly or lead to malfunction.
Reasons to Regularly Inspect Your Garage Door Springs
- Avoid Dangerous Breaks: Springs that break under tension can cause serious injury. Regular checks can prevent this by identifying when the springs are nearing the end of their life.
- Extend the Life of Your Garage Door: Properly functioning springs reduce wear and tear on the garage door opener and other components. Regular maintenance helps the entire system run more efficiently and last longer.
- Prevent Unexpected Inconvenience: A broken garage door spring can trap your car inside or outside the garage, leading to costly emergency repairs and delays.
Essential Tools for Garage Door Spring Replacement
Garage door spring replacement is a technical job that requires the right tools to ensure safety and accuracy. Before you begin the process, gather the following essential tools:

- Winding Bars: These specialized bars help you wind and unwind the springs safely.
- Socket Wrench Set: For loosening and tightening nuts and bolts.
- Clamps: To keep the garage door from moving while you’re working.
- Adjustable Wrench: This handles various nuts and bolts throughout the process.
- Tape Measure: To accurately measure the spring dimensions.
- Safety Gear: Gloves, safety glasses, and long sleeves to protect against injury from the high-tension springs.
- Garage Door Lubricant: To apply to the springs after installation, ensuring smooth operation.
Having the right tools makes the job easier and significantly reduces the risk of accidents.
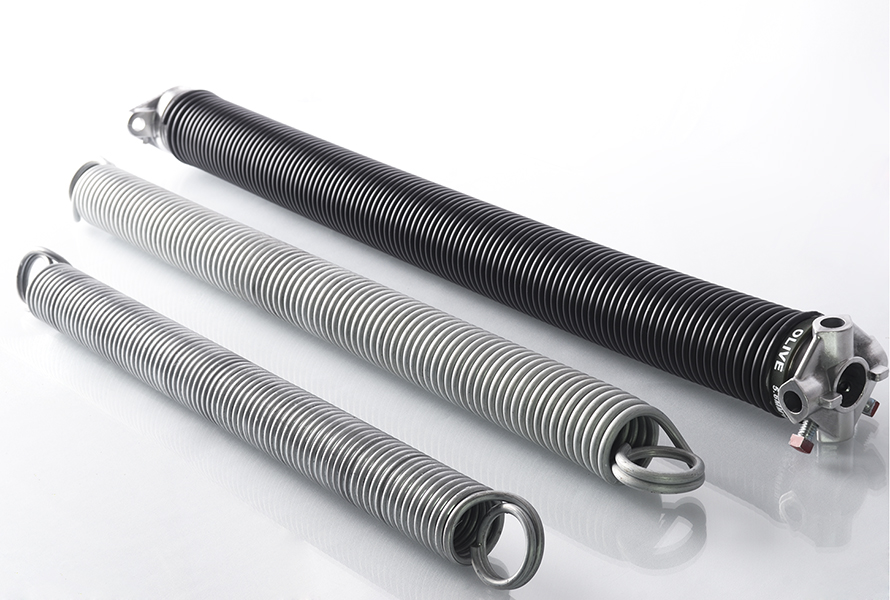
Different Types of Garage Door Springs
Before starting the replacement process, it’s essential to understand the two main types of garage door springs: torsion springs and extension springs. Understanding their differences can help you determine which one you need for your garage door.
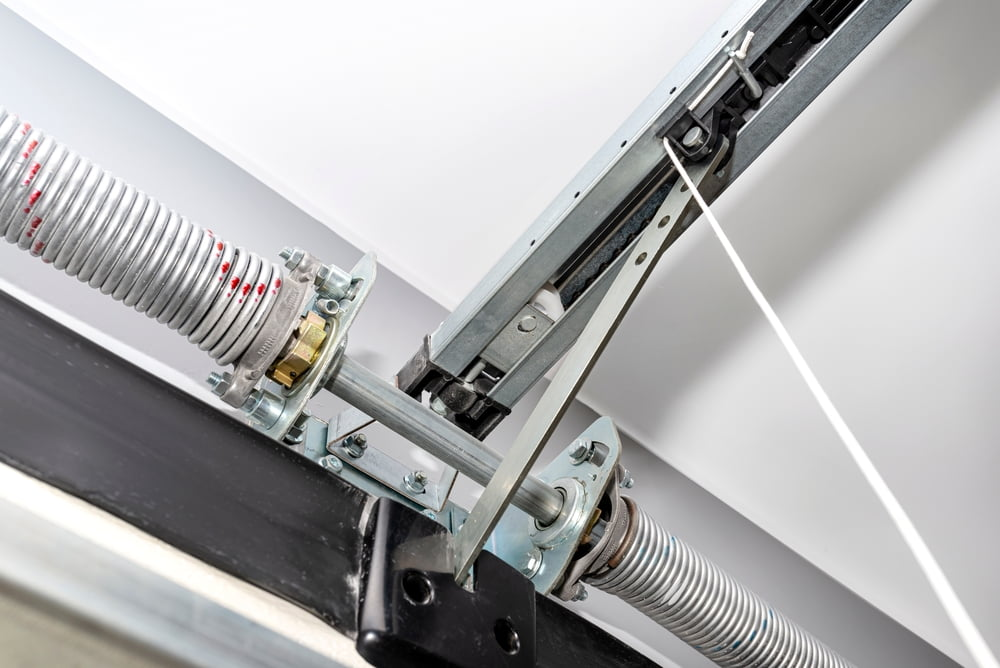
Torsion Springs
- How They Work: Torsion springs are mounted horizontally above the garage door. They use torque to lift the door by twisting along a shaft. The number of torsion springs used depends on the size and weight of the door.
- Advantages: Torsion springs offer a smoother, more controlled motion when opening and closing the door. They are also more durable and have a longer lifespan than extension springs.
- Disadvantages: Torsion springs are typically more expensive to install or replace, and their replacement process is more technical due to the higher tension involved.
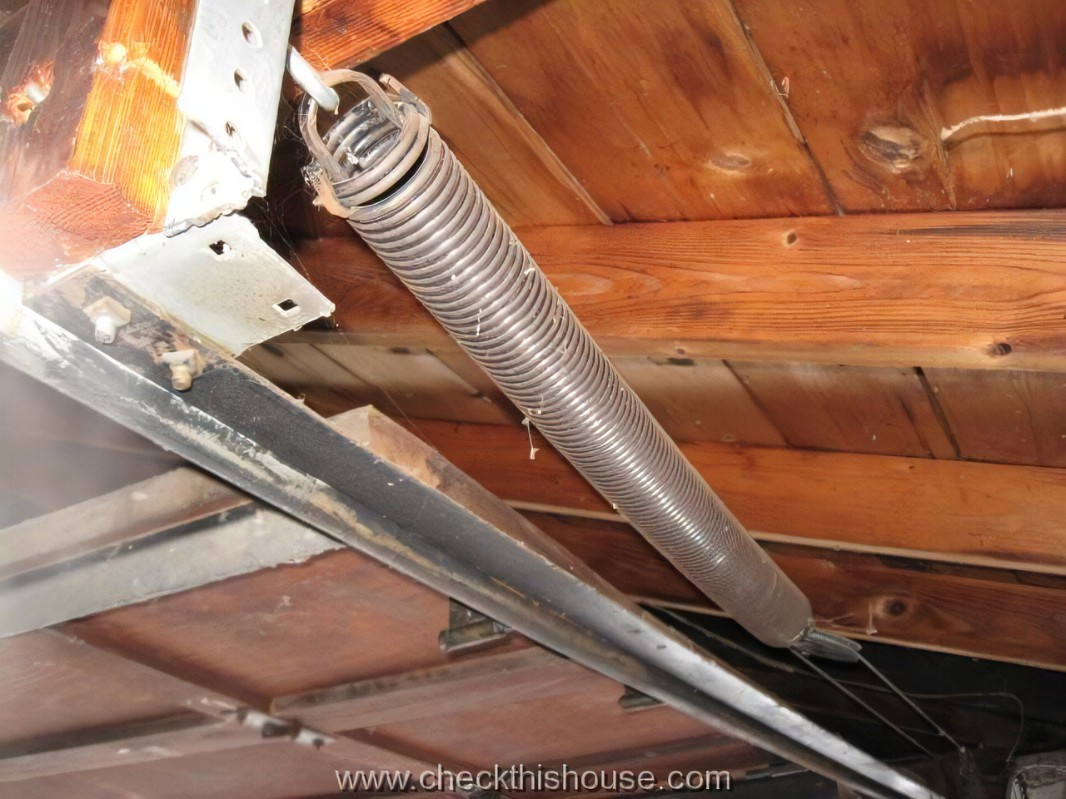
Extension Springs
- How They Work: Extension springs are mounted on either side of the garage door, stretching and contracting to assist in lifting and lowering the door.
- Advantages: Extension springs are more affordable than torsion springs and are easier to install, making them a popular choice for homeowners on a budget.
- Disadvantages: Extension springs tend to wear out faster and don’t provide as smooth operation as torsion springs. They can also be more dangerous if they snap, as they can fly off with great force.
Depending on your garage door’s design, you may have one or both types of springs. Ensure you are familiar with the kind of spring your door uses before attempting a replacement.
How to Replace Garage Door Springs
Step 1: Unplug the Garage Door Opener
Before starting any work, ensure your garage door opener is unplugged. This eliminates the risk of the door moving during the repair, which can be dangerous.
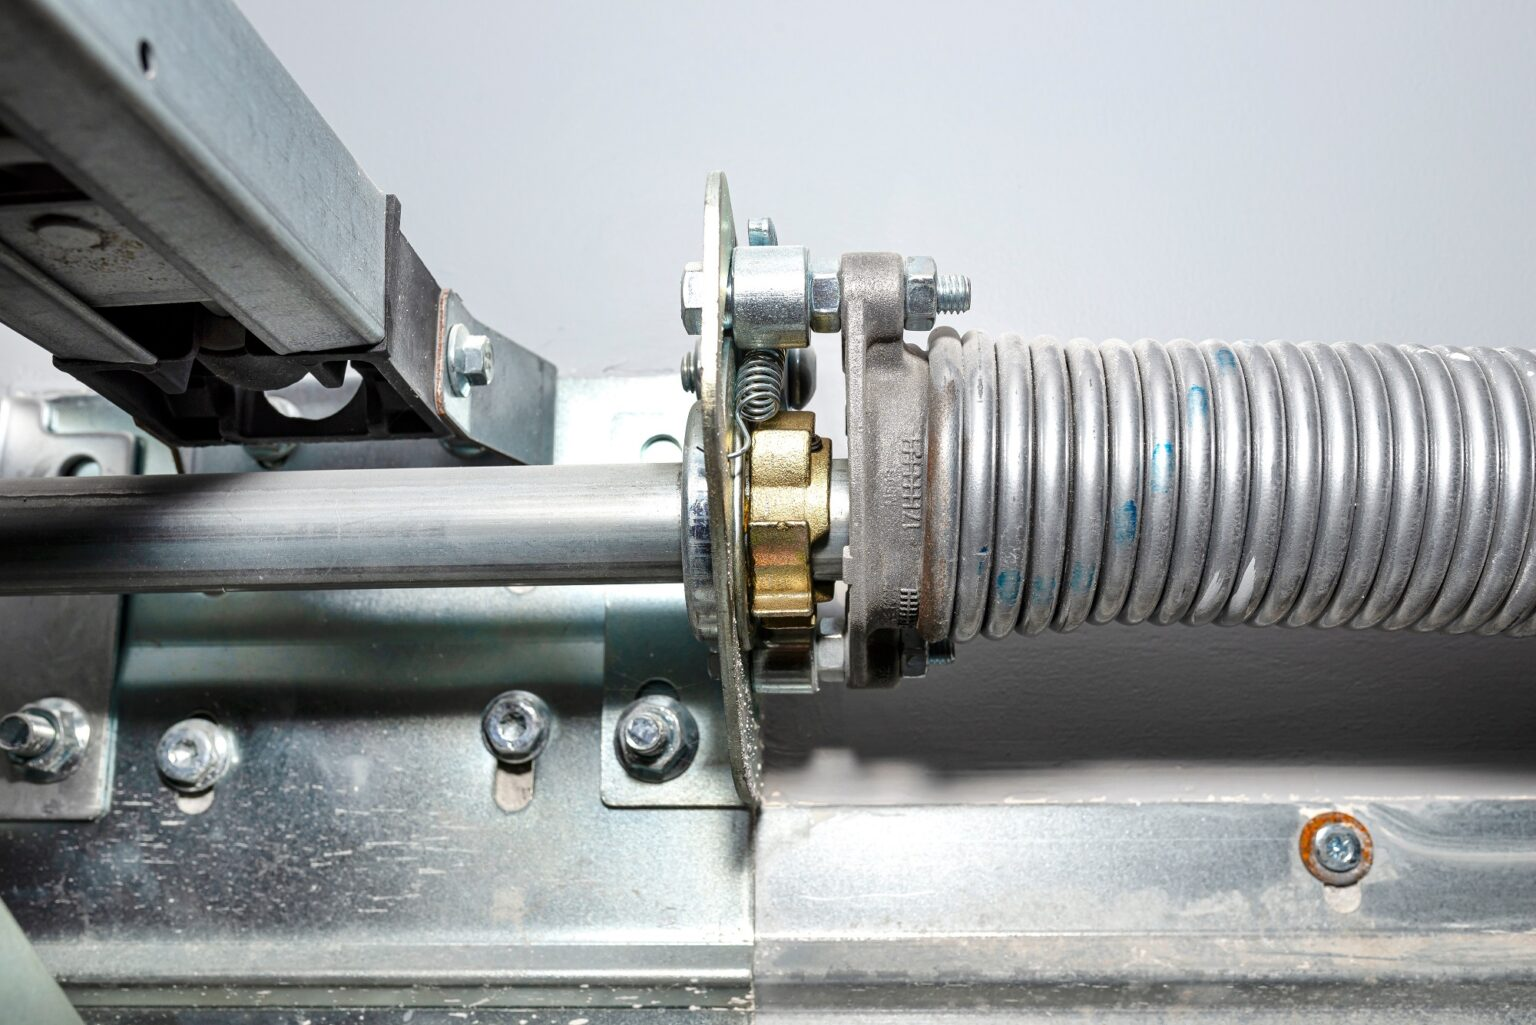
Step 2: Safely Loosen Set Screws
Use winding bars to loosen the set screws on the winding cone (at the end of the torsion spring). This releases tension from the spring. Be cautious, as this is where the most tension lies.
Step 3: Unwind Each Spring
Insert winding bars into the holes on the winding cone and slowly unwind the spring by turning the winding cone. Carefully release the tension one-quarter turn at a time, using two winding bars alternately.
Step 4: Remove the Nuts and Bolts
Once the springs are safely unwound, use a socket wrench to remove the nuts and bolts that secure them. This step allows you to detach the springs from the system.
Step 5: Remove Springs, Cables, and Cable Drums
Carefully remove the springs, cables, and cable drums. These components are all interconnected, so ensure you set them aside for reinstallation.
Step 6: Measure the Length of the Relaxed Spring
Measure the length of the spring once it’s relaxed and no longer under tension. This measurement will be necessary to order the correct replacement spring.
Step 7: Measure the Inside Diameter and Coil Size
Measure the inside diameter and size of the spring coils. These measurements will ensure you purchase the right replacement springs for your door.
Step 8: Order Replacement Springs
Using the measurements you’ve gathered, order replacement springs. Ensure they are high-quality springs suitable for your specific garage door.
How to Install New Springs
After receiving the replacement springs, follow these steps to install them properly.
Step 1: Place the Left Spring and Add the Cable Drum
Install the left spring by sliding it onto the torsion bar. Once in place, attach the cable drum to the end of the torsion bar, securing it with set screws.
Step 2: Install the Central Bearing and the Right Spring
Install the central bearing and slide the right spring into place. Attach the right cable drum to the torsion bar, securing it like the left drum.
Step 3: Thread the Cables and Tighten the Drums
Thread the cables through both cable drums, ensuring they are properly aligned with the garage door’s movement system. Tighten the drums securely to keep the cables in place.
Step 4: Wind the Springs
Carefully wind the new springs using winding bars. Ensure that each spring is wound to the appropriate tension to allow the door to open and close smoothly.
Step 5: Stretch the Springs Out
Once the springs are wound, stretch them out slightly by pulling on the spring with your hands or winding bars. This helps seat the springs properly in place.
Step 6: Lubricate the Springs
Use garage door lubricant to lubricate the new springs. This reduces friction and prolongs the springs’ life by ensuring smooth operation.
Step 7: Safely Remove Clamps
If you used clamps to keep the garage door secured, remove them now. Be cautious as you release the clamps to ensure the door remains stable.
Step 8: Test the Door
Reconnect the garage door opener and test the door. Open and close it a few times to ensure the springs are properly wound and functioning as expected. You may need to adjust the spring tension if the door is uneven or noisy.
Safety Tips for Replacing Garage Door Springs
Replacing garage door springs is dangerous due to the springs’ tension. Here are some critical safety tips:
- Always Use Proper Tools: Winding bars and other specialized tools are necessary to release and apply tension to the springs safely.
- Wear Protective Gear: Wear safety glasses, gloves, and long sleeves to protect yourself from potential spring snaps or debris.
- Do Not Work Alone: Having someone nearby can help if something goes wrong or you need assistance.
- Take Your Time: Never rush the process. Replacing springs involves precision and patience to avoid accidents.

Common Mistakes to Avoid When Replacing Springs
- Using Incorrect Springs: Always ensure you use the right size and type of spring for your garage door. The wrong springs can cause the door to malfunction.
- Not Winding the Springs Properly: Under- or over-winding springs can cause the door to not open or close correctly.
- Skipping Lubrication: Proper lubrication reduces friction and wear on the springs. Skipping this step shortens the lifespan of your new springs.
When to Call a Professional
Call a professional if you feel uncomfortable with any part of the spring replacement process or if your garage door has multiple complex components. Professionals have the experience and tools to safely and efficiently replace garage door springs, reducing the risk of injury and ensuring the job is done correctly.

Frequently Asked Questions (FAQs)
Can I replace the garage door spring myself?
While replacing a garage door spring yourself is possible, it’s only recommended if you have experience in garage door repair. Springs are highly tense and can be dangerous to handle without the proper tools and expertise.
How much does it cost to replace a coil spring on a garage door?
The cost to replace a garage door coil spring typically ranges from $150 to $350, depending on the door’s size, type, and location. This price includes both parts and labor.
Is it safe to replace garage door springs?
Due to their high tension, replacing garage door springs can be hazardous. Without the proper tools and knowledge, the springs can cause injury, so hiring a professional is the safest option.
How long does it take to replace a garage door spring?
A professional usually takes about 1 to 2 hours to replace a garage door spring, depending on the door type and the hardware’s condition. DIY replacements may take longer and carry additional risks.
How to know if garage door springs are bad?
Signs of a bad garage door spring include difficulty lifting the door, visible gaps in the spring, or the door falling too quickly. If the door is unusually heavy or unbalanced, the springs are likely worn out and need replacement.
Conclusion
Replacing garage door springs on a new garage door is challenging but can be accomplished safely with the right tools, knowledge, and preparation. By following this guide, you can replace worn-out springs and restore your garage door’s smooth operation. However, safety should always come first, so don’t hesitate to contact a professional if you’re unsure about any step of the process. Properly installed and maintained springs will keep your new garage door operating smoothly and safely for years.
End Note
At Superior Door, we know that replacing a garage door spring can be a daunting and risky task. Whether you’re dealing with a broken spring or simply need maintenance, our expert team is here to help! From residential repairs to commercial services, we handle it all—including 24-hour emergency support, opener installations, and spring replacements.
Need some inspiration? Visit our gallery to see our work, and don’t forget to check out our blog for more expert tips. If you’re unsure about tackling this project alone, book an appointment with our professionals today.
At Superior Door, we’re here to make sure your garage door works safely and smoothly, every time!